Bokeh can come in all shapes & sizes but the form that most people strive for is a completely smooth circle. This is the most aesthetic type according to many photographers who practice this technique. There is also an hexagonal bokeh which is caused by a 'diaphragm' in the lens being slightly closed. Making different shaped bokeh can be achieved. More on that later!
 If you own a DSLR, a cheap way to get started is to invest in a wide-aperture lens. You can find a Canon/Nikon 50mm f/1.8 lens for around £60 & this will help you to learn more about bokeh. Only you are capable of knowing how you want to use this effect, so experiment & have fun. You can also use your 18-55mm kit lens by keeping the lens at 18mm. It does, however, mean that you will need to get very close to your subject, but the effects are definitely worth it.
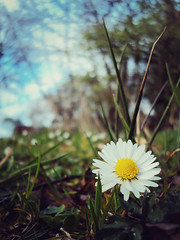
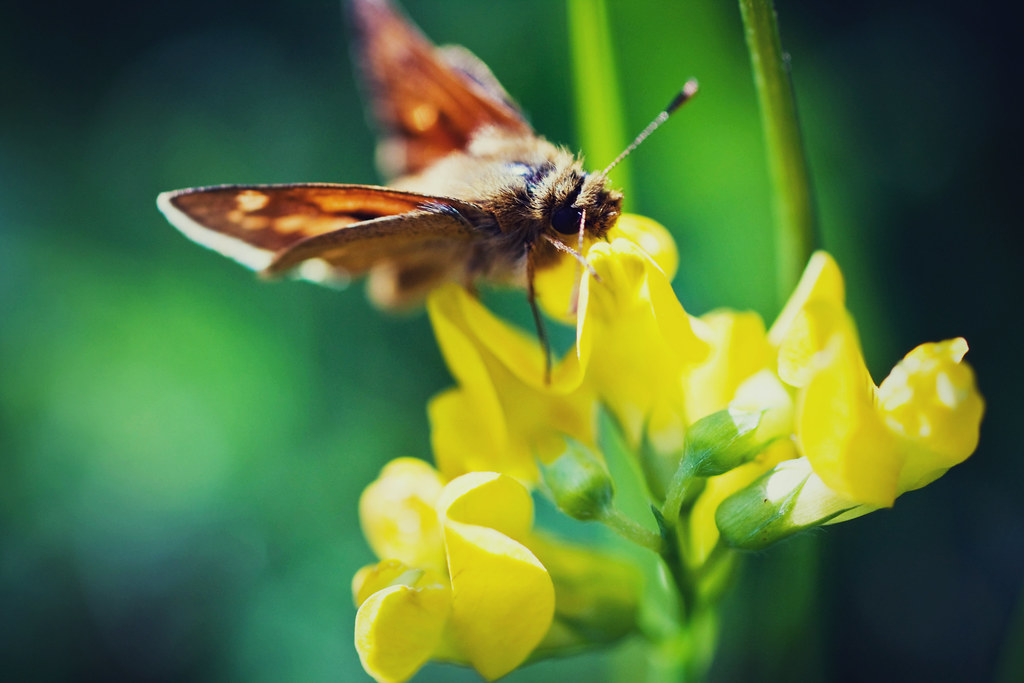
 Photographing street lights, or Christmas tree lights can help you see bokeh in action. Keep your lens wide open (by this I mean at the widest aperture available, which for the 50mm f/1.8 would be f/1.8, or for the kit lens at 18mm, f/3.5). Focus on something close (ie, a car, the road, a tree) but make sure you fill the rest of the space, with the lights of your choice. Or you could make the entire image blurry (see right). which can also make visually pleasing images.
You can use filters to change the shape of bokeh in your images. These are made simply by cutting the desirable shape out of black card or plastic & attaching it to the front of your lens. You can also buy ready made shapes here. Cut a heart shape into a piece of card, place it on your lens & shoot away. It's as simple as that.
So there we have it; a quick guide to making bokeh. Any questions regarding this post can be asked either in the comments below, on twitter (@_purpleface) or facebook.

No comments:
Post a Comment